|
|
5 years ago | |
|---|---|---|
| .. | ||
| images | 6 years ago | |
| Configuration.h | 5 years ago | |
| Configuration_adv.h | 5 years ago | |
| README.md | 6 years ago | |
README.md
Readme
These configurations activate many of the new advanced features of the Marlin firmware:
- Auto Calibration
- Auto Bed Leveling
- Pause & Filament Change
Important: Before doing anything else after updating the firmware, go to Configuration > Advanced Settings > Initialize EEPROM to get rid of old configurations.
Then you should execute Configuration > Delta Calibration > Set Delta Height and also run Configuration > Delta Configuration > Probe Z-offset to verify the Probe offset.
After that you should connect the Z-Probe and start Configuration > Delta Calibration > Auto Calibration. When it's done don't forget to also do Configuration > Delta Calibration > Store Settings to make it permanent.
You should also do a Motion > Bed Leveling > Level bed followed by Store Settings to ensure a perfect leveling.
Please do a manual paper test (moving the nozzle slowly down to Z0 and checking with a piece of paper). If it's not perfect, use Configuration > Advanced Settings > Probe Z Offset to correct the difference and execute the calibration again.
Select the Configuration
Please select the correct values at the start of the Configuration.h file
The Kossel comes in 3 versions:
- Pulley
- Linear
- Linear Plus
Pulley and Linear use the same configuration, the Linear Plus is bigger and uses slightly different configurations.
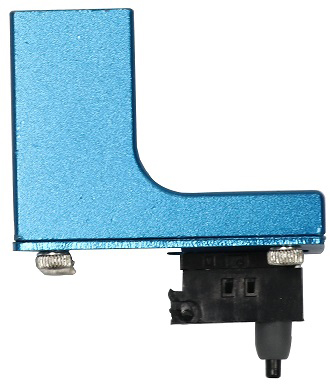
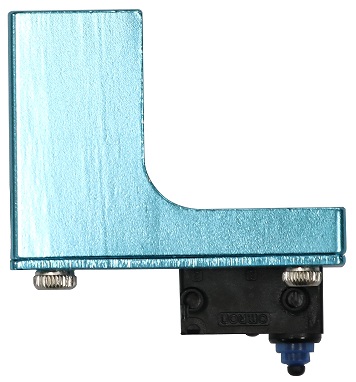
Typically the probes for the Anycubic Delta Kossel printers come in two different versions.
If you select the ANYCUBIC_PROBE_VERSION 0: It's very important to follow the correct procedure to set it up after flashing the firmware, otherwise you might damage the printer by ramming the nozzle into the buildplate:
Configuration > Advanced Settings > Initialize EEPROMMotion > Move Axis > Soft Endstops:Off- Auto Home and slowly move the nozzle down until it barely touches the bed. (Do a paper-test: A normal sheet of paper should just feel the drag of the nozzle) and note this number.
- Subtract this number from the value in
Configuration > Delta Calibration > Delta Settings > Height. (If it's negative, add it). - Save and try the paper test again to verify your height.
Configuration > Store Settings- Motion > Bed Leveling (using paper test)

